My HTML journey started how much of my learning does, with a good 21st century Google search. After some searching around I found a number of HTML and website creation tutorials. I primarily used EJ Media's HTML tutorial series, but along the way I referenced many other tutorials and guides. I found the list of HTML commands created by w3schools to be particularly helpful when looking for a line or two of code to do a specific task. |
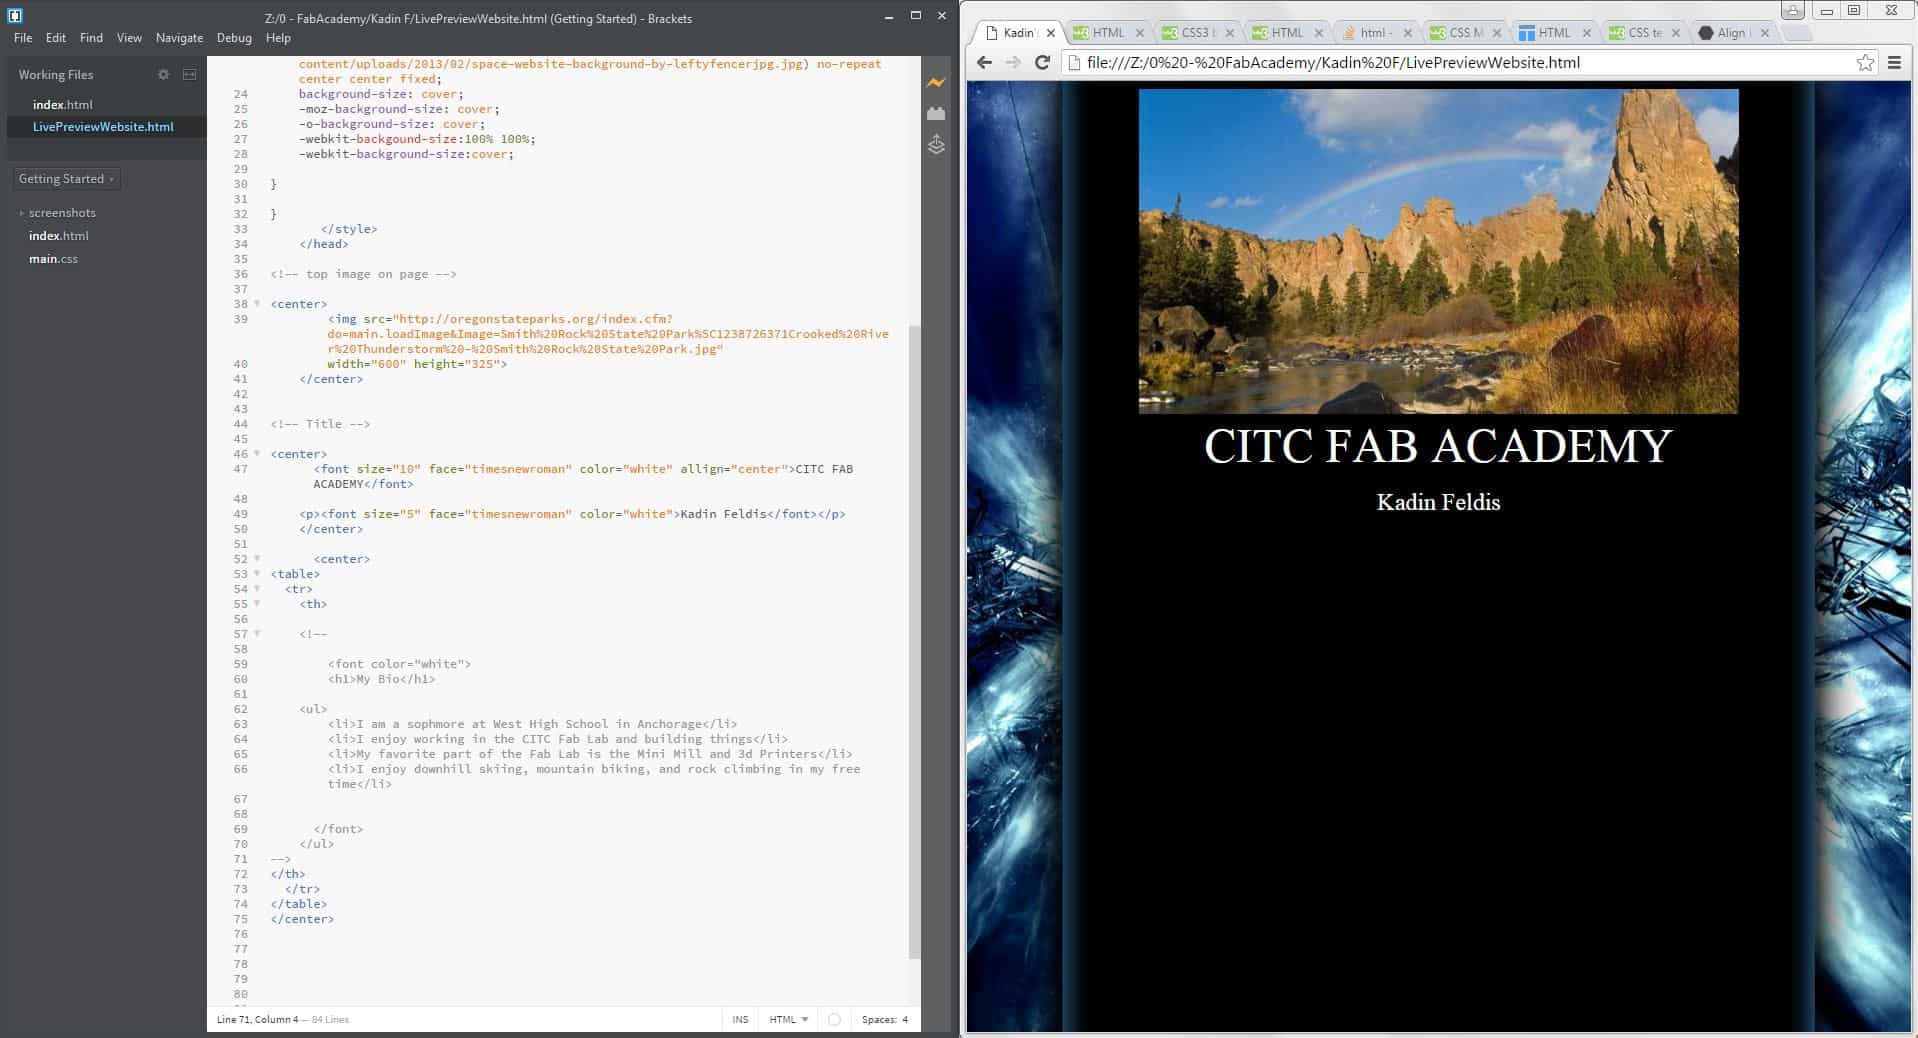
After getting a pretty good idea of the basic structure of HTML websites I began to create my first site. Using Brackets I explored other websites in HTML and focused on learning how they formated pictures, alligned paragraphs, and created menus. From there I started my own website and utilized some features I liked from other websites to create what has become my Fab Academy webpage. I liked using Brackets but found that it takes longer than I would like do a simple things like adding pictures, linking videos and making anchors. I wanted to explore other options that would make basic tasks such as importing pictures more automated to speed up my website creation and editing in the future. Steven, who works at the CITC Fablab suggested I try Dreamweaver. |
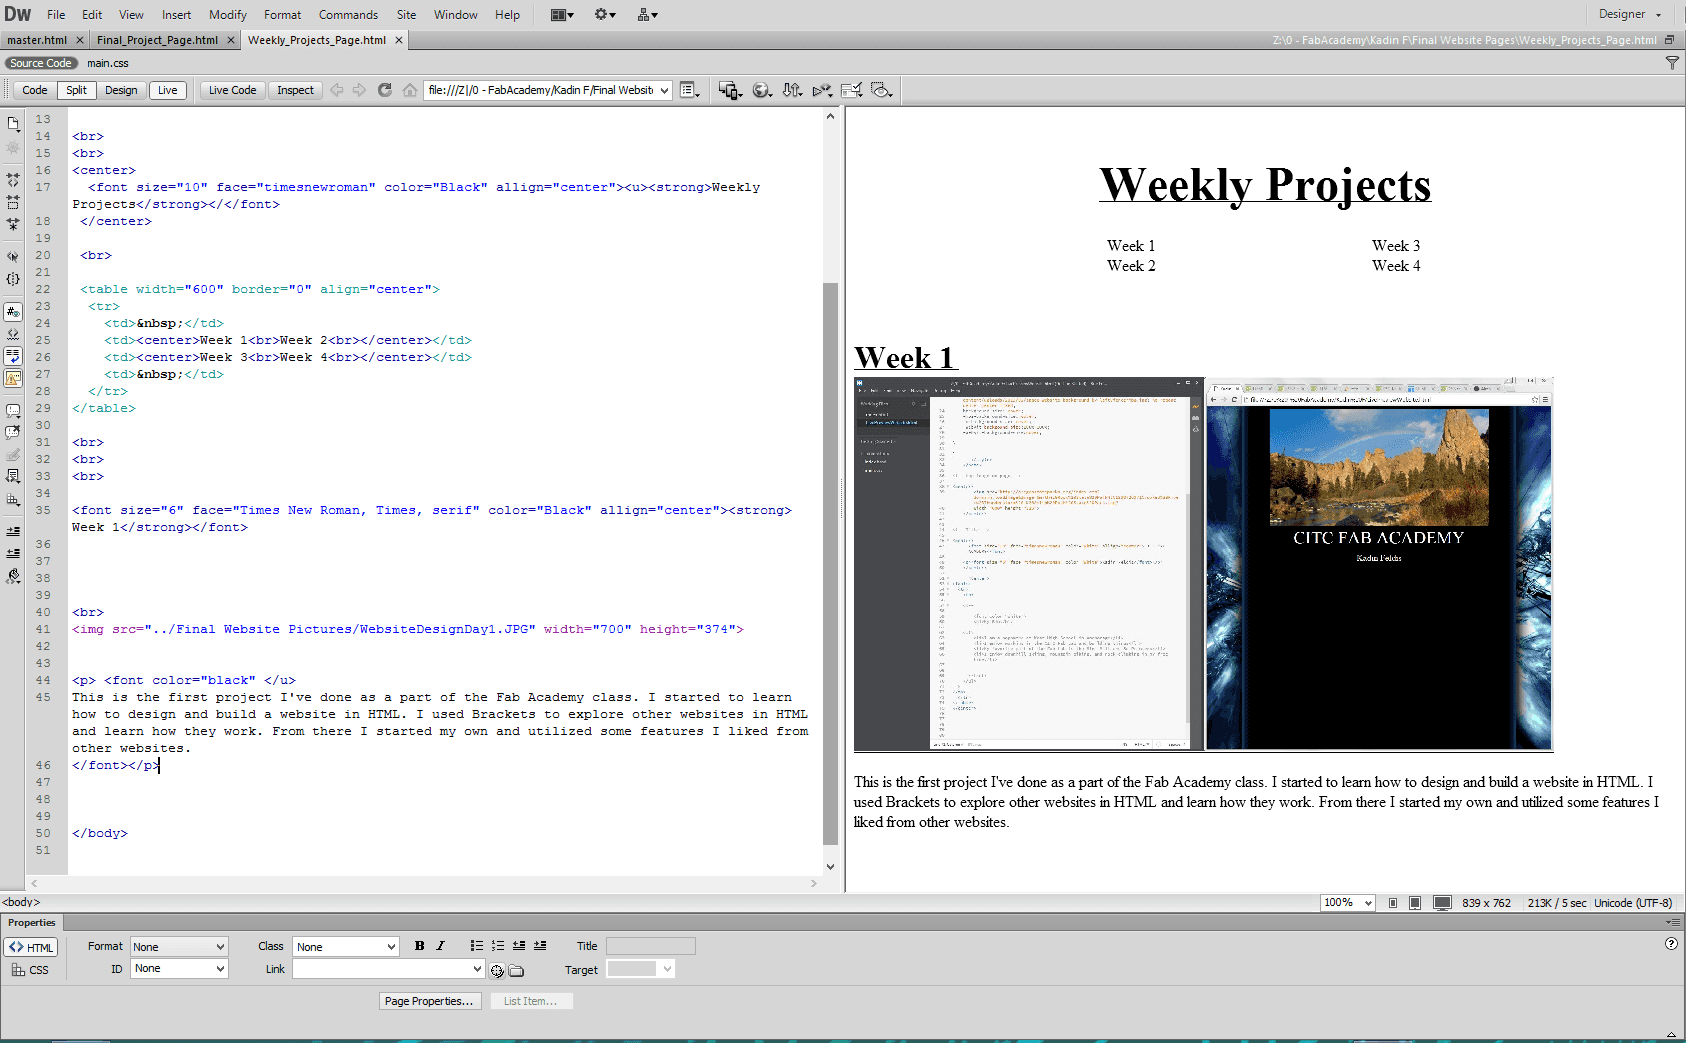
I decided to switch to Dreamweaver for its improvent interface and multipage website support. Dreamweaver makes it easy to preview your website as you write your code, it also has some very neat features that allow you to quickly and accurately link images from your computer to your website saving you time when making large websites with lots of images and videos. I started expanding my website and added multiple pages in order to make it easier to find things on my webpage. I used some of the more basic methods for creating menus and in-page links I had seen while looking at other web pages in brackets to put the finishing touches on my webpage. When I was finally satisfied with my basic website outline I moved on to the next step, setting up Git so I can push my website to the Fab Academy repository. |
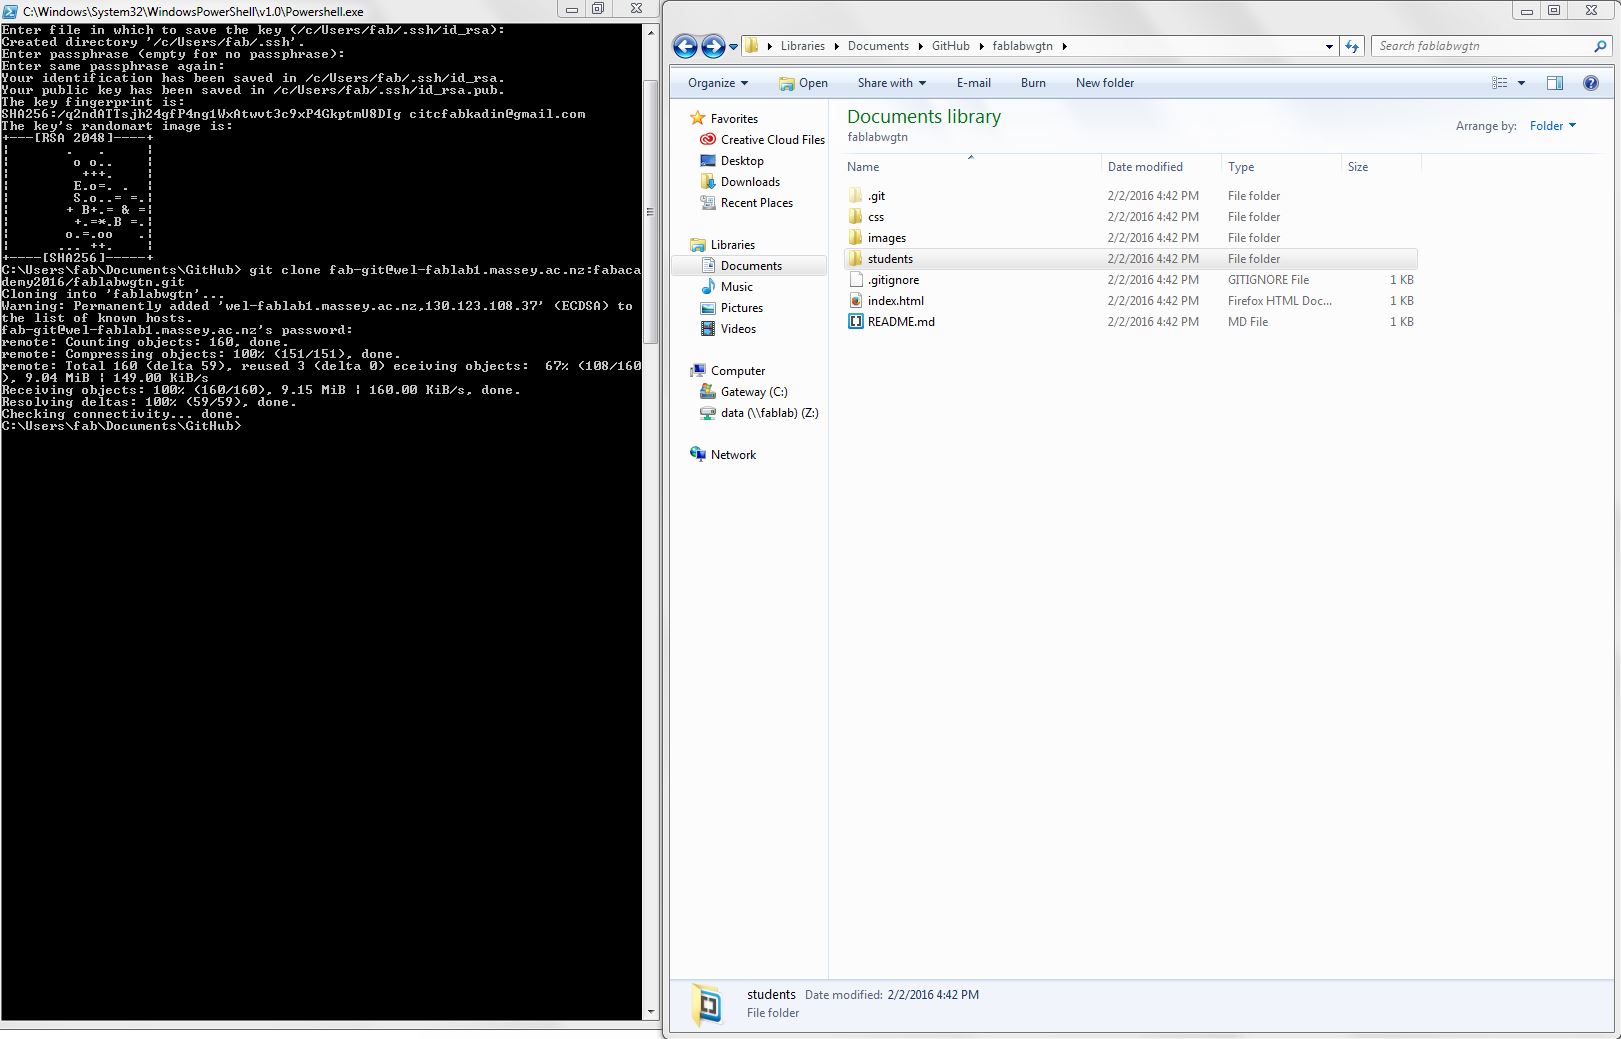
The first step in getting ready to push on Git for me was setting up my SSH key. After that, with the help of others, I was able to push my first documents(including my website) so that they could be accessed elsewhere, and my website could be published. |
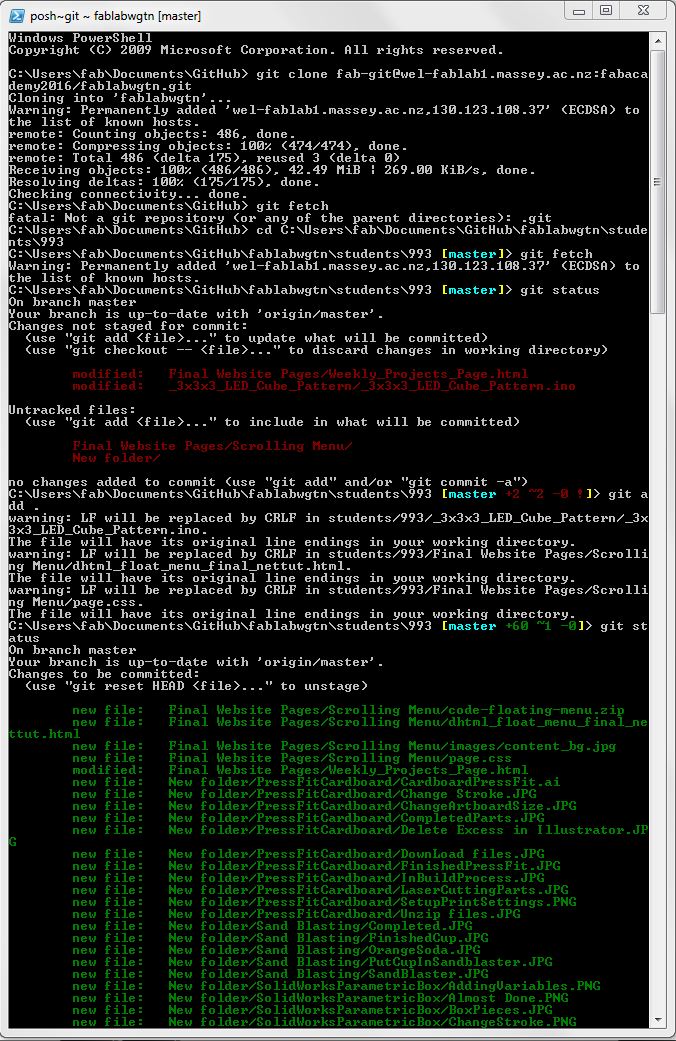
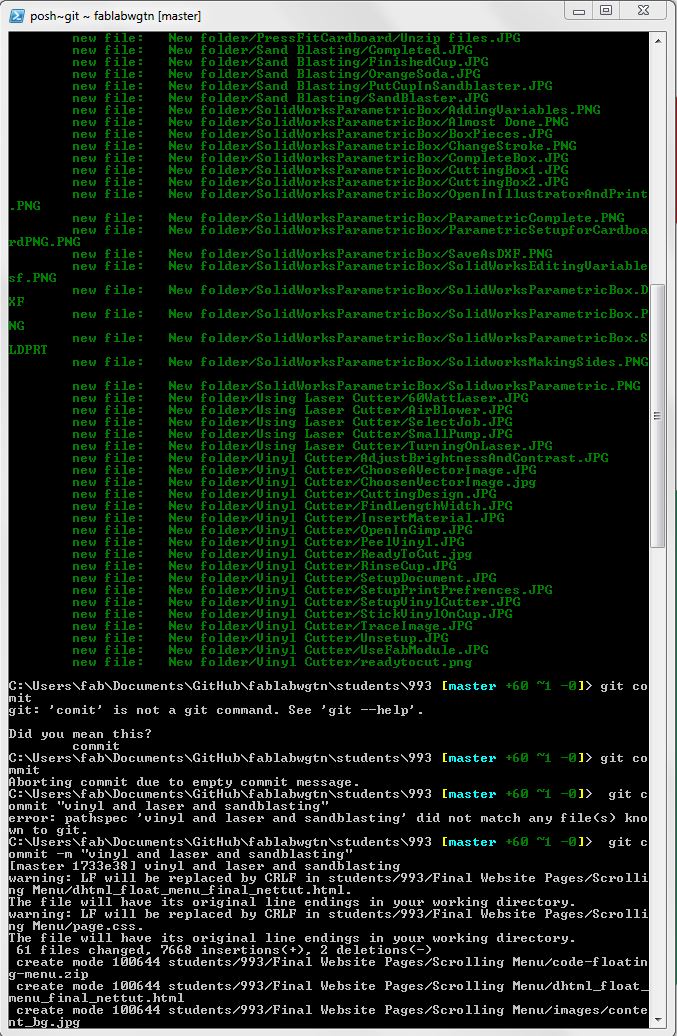
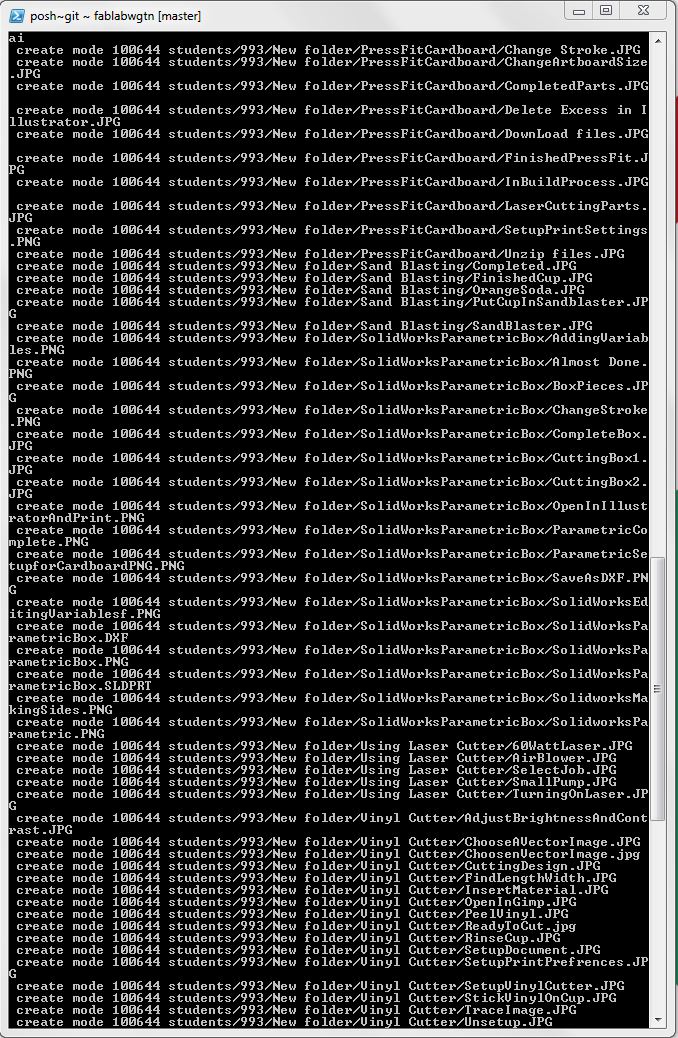
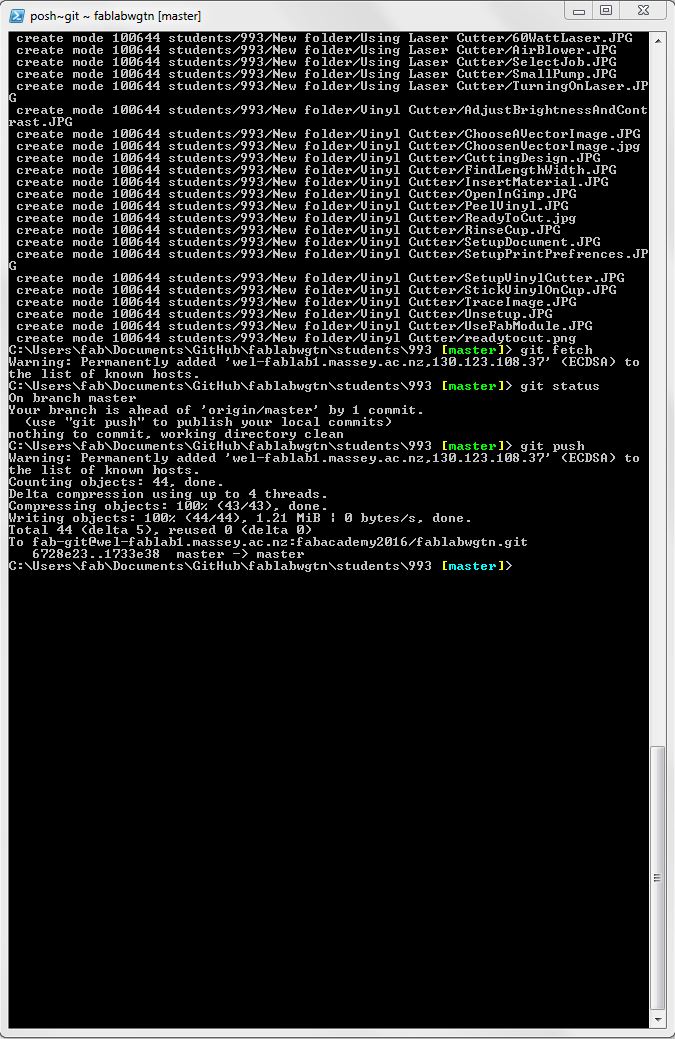
After setting up my SSH key I was ready to do my first GIT push. The pictures above show all of the terminal work I did to accomplish that. The steps are as follows. 1."git fetch" to check the repository 2."git pull" to update your local files 3."git status" as Steven puts it "see what's up" 4."git add" to add files you want to push 5."git status" again see whats up in the Git world 6."git commit -m "baldlafjdsf;lkas" create your commit and totally name it something creative and helpful for later on 7. "git push" to push 8."git fetch" to merge commicts into the master. 9."git status" to agian "see what's up" and make sure your commit went as planned. |